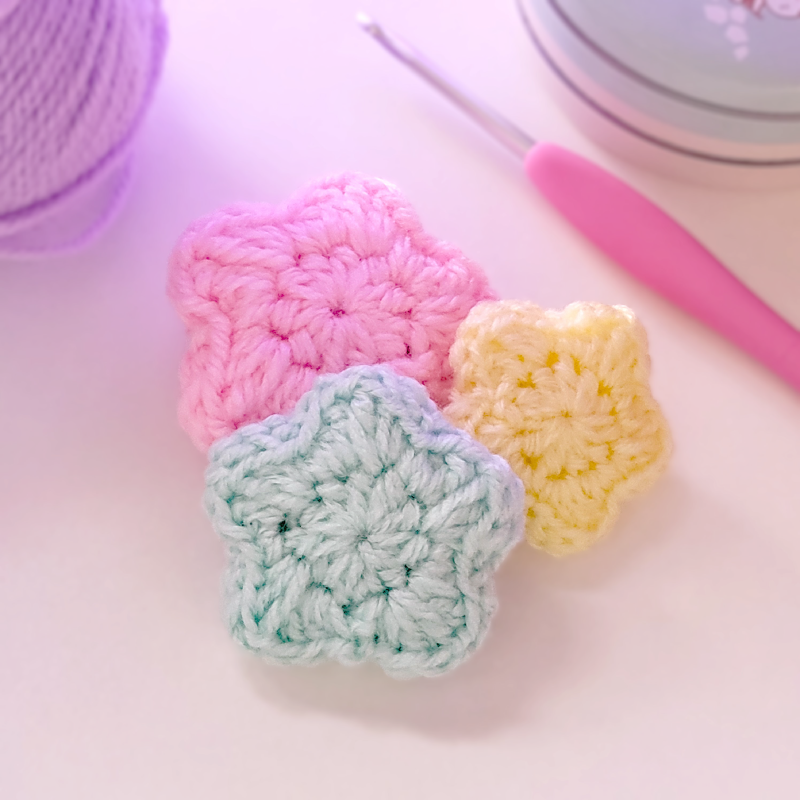
These tiny cute stars are so fun to crochet! This pattern is simple and beginner friendly. They look great in a variety of yarn weights. I love adding stars to so many different crochet projects. The stars also work up quickly, making it easy to add them to any project!
In this pattern, I show you how to create the stars as a plushie but you can also just crochet one side and use them as an applique.
Here is some ideas for projects that you could add these stars to:
✦ clothing
✦ hair accessories
✦ bags & purses
✦ an applique on a granny square
✦ charms
✦ bookmarks
✦ leg warmers
The yarn weight you use for this project will change the size of your star. Need a bigger star? Try using a medium weight size 4 yarn and 4.5 or 5mm hook. Want a tiny little fella? Use a super fine weight size 1 yarn with a 2.25mm hook.
Adding to the versatility of this project, you can use whatever yarn fabric you would like! If you want a smoother star, try 100% cotton. If you want something more fluffy, try an acrylic yarn.
My personal favorite combination for this project is a sport weight size 2 100% acrylic yarn with a 3.25mm hook. Of course, it completely depends on the project I’m using it for though.
step-by-step guide on youtube
More of a visual learner or feeling stuck? All of my free patterns have a Youtube video tutorial! I show you how to crochet it step-by-step. Check it out here!
✂️ materials
The following is the yarn & hook size that I used in my video tutorial, but you can use whatever you’d like for this project.
✦ sports weight 2 acrylic yarn)
✦ 3.25mm hook)
✦ scissors
✦ needle
optional materials
✦ stuffing
✦ stitch markers
📔 abbreviations
rnd #: round #
mr: magic ring
st: stitch
sl st: slit stitch
ch: chain
sc: single crochet
hdc: half double crochet
dc: double crochet
blo: back loop only
ws: wrong side
fo: fasten off
rep x#: repeat times # *: repeat the instructions between the asterisks the number of times indicated
( ): work the stitches in parentheses in the same stitch
✏️ pattern notes
✦ All patterns are written using US crochet terminology.
✦ The ch1 in rnd 01 does not count as a stitch.
📄 pattern
Rnd 01: create a mr, ch1, 10 hdc, sl st to first hdc to close rnd.
Rnd 02: ch1, *(sc, hdc, dc, ch1), (dc, hdc, sc)* rep ** 5 times, sl st to the first sc to close, ch1 and fo.
Create two stars. On the second star, do not fo.
Sewing: Place the two stars with their ws facing each other back-to-back. sl st the stars together through their blo.
When you get around to the last star point, fill the star with stuffing or yarn scraps to make it plushie. ch1 and fo, leave a semi-long tail.
Shaping: We are going to use the tail to shape the star more.
Step 1: Grab a darning needle and insert through in between two star points, going through the middle of the slit stitch we created. Pull the yarn gently out between two other star points and behind the line that was created from the front loops of our sl st sewing.
Step 2: Take your needle around the sl st sewing and insert it behind the front loops on the other side of the star.
Step 3: Insert your needle to another spot that is in between two star points behind the front loop. Slowly tug on the yarn to shape the last spot you were at until you reach your desired shape.
Repeat steps 2-3 until you’ve shaped all 5 spots.
Carefully weave in the end and that’s it! You now have a super kawaii star.
PLEASE NOTE: I wrote down a different sewing method here than what I did in the video above. I ended up liking this method more. It is a confusing method to explain with words though. if you’d like, you can watch one of my other videos where I crocheted a star charm using this sewing method that I have listed here. The video below is linked to the exact time stamp of the sewing.
Our cute stars are all complete! I hope you have fun adding these to your crochet projects! Until next time, byyyyye! ♥